For some prototype photos, check out my brand new Osborn Page


| N&W #1636 - SD40-2 Built from Cannon, Sheet Styrene, and Kato Components | ||||||||||||||||||||||||||||||||||||||||||||||||||||||||||
|
This is actually one of two locomotives I'm building together. The 1635 was N&W's last high nose locomotive,
the 1636 was their first low nose EMD locomotive as ordered from the factory. The first low nose locomotives on
the N&W actually arrived ten years earlier, inherited from the Nickel Plate and Wabash, and its first low nose
order was U30Cs 8000-8002 delivered in April, 1974. The last high nose locomotives delivered to the N&W were SD40-2s
1625-1635, in September of 1973. In July, 1974, 17 SD40-2s numbered 1636-1652 were delivered. They were the
first in what would be 152 low nose SD40s, bringing the total roster of that locomotive type to 163. With over 4,000
built, the N&W did not have one of the larger SD40-2 fleets, however they were the newest locomotives at the time,
the largest class of any one type newer than GP9s, and they were the dominant motive power for the remaining years
the N&W was an independent railroad.
For some prototype photos, check out my brand new Osborn Page
|
After waffling back and forth on whether to start with a Kato or Athearn shell, I decided to do neither
and scratchbuild the shells from Cannon components.
|
|
The SD40-2 is one of the most straight forward long hood configurations, all of the necessary doors, grills,
and other details are available from Cannon.
|
|
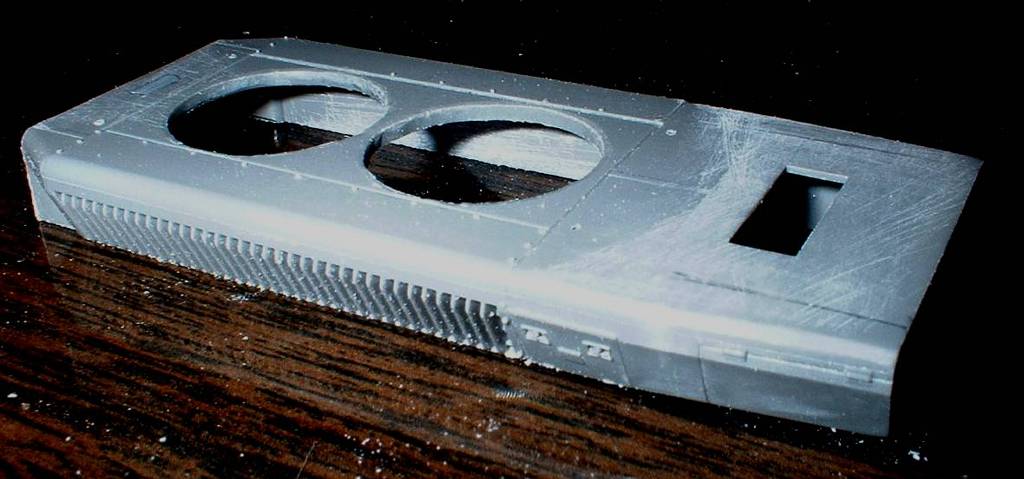
The dynamic brake section is a modified part from a Kato SD40-2. The molded on fans and exhaust stack
have been removed. The Kato piece is slightly too "broad shouldered" at the forward end of the taper
(left in this view) so I made linear cuts to remove some material, then bent the tapered ends inward
and clamped them, glued with Zap-A-Gap. Not perfect, but an improvement.
|
|
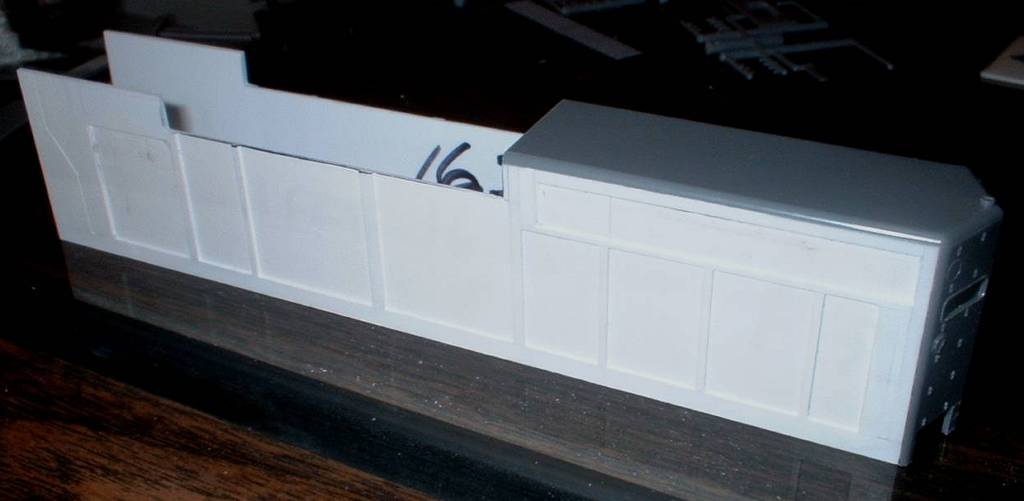
Cannon's roof stock, a relatively recent addition the product line, makes it a snap to build the
basic long hood skeleton. This photo shows the side positioned with the roof and long hood end, but
are not yet glued in place which is why you can see a gap at the end.
|
|
The cab end of the long hood, before the roof piece has been installed. In these early photos the
dynamic brake section is just being test fit and not attached.
|
|
A look at the right side of the long hood.
|
|
Roof view shows how things go together.
|
|
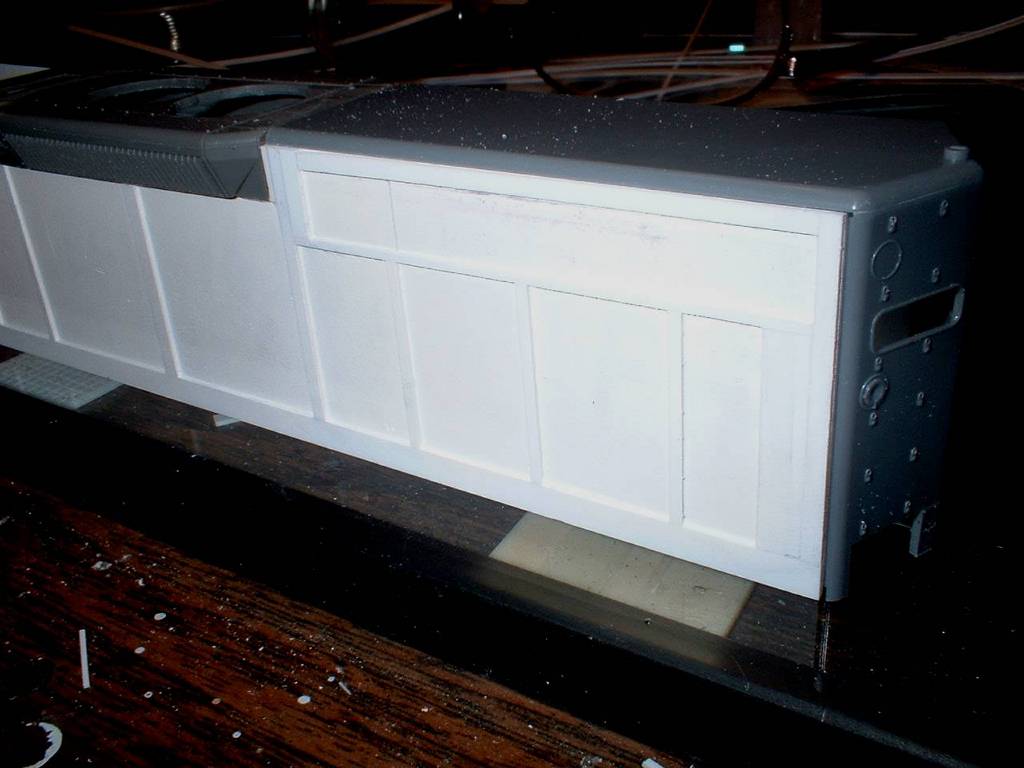
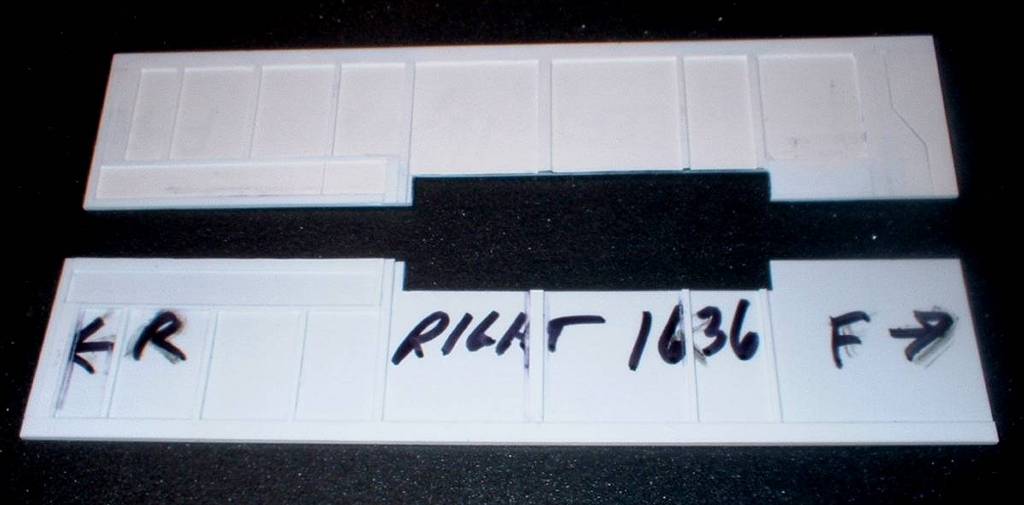
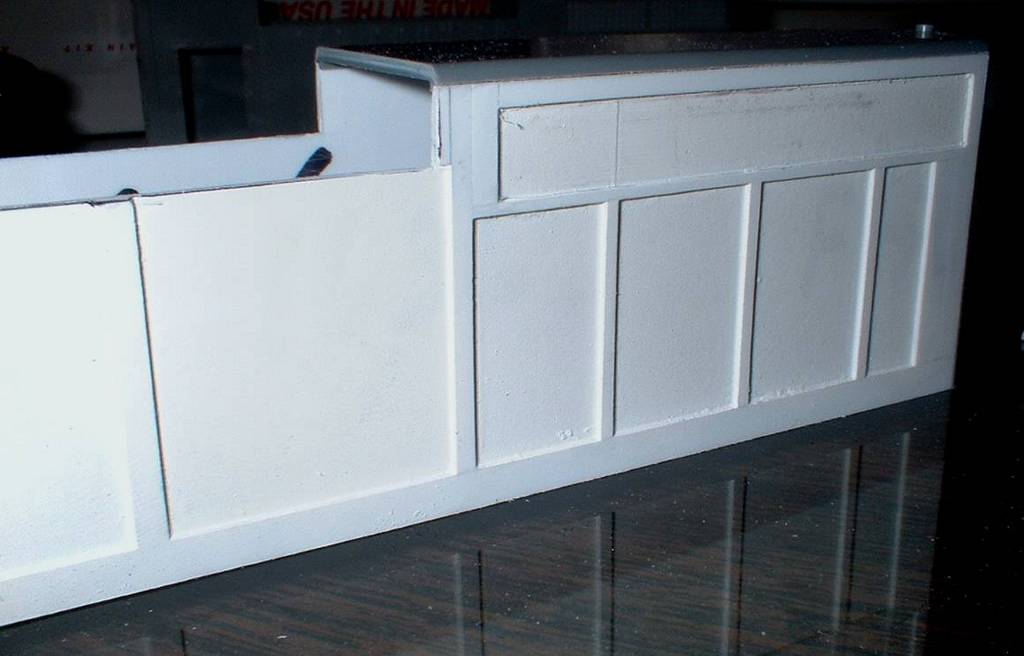
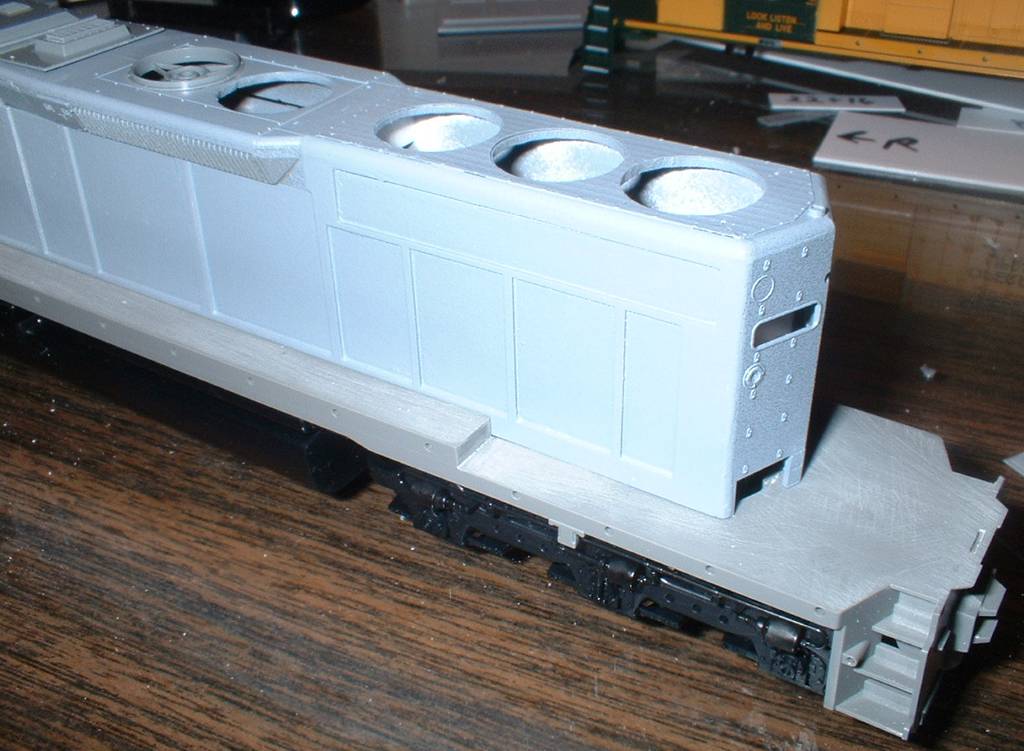
The sides are built on a base of Evergreen .020" styrene, overlayed with strips of .020" styrene to represent
the sheet metal between the door groups and other components. I assembled the sides without the use of
any solvent cement, using Zap thin cyanoacrylate to attach all the strips. As a result, there is no
solvent distortion or warping of the sides - a welcome improvement.
|
|
Even with no spacers or support, glued only to the radiator roof stock and long hood, the sides
remain straight.
|
|
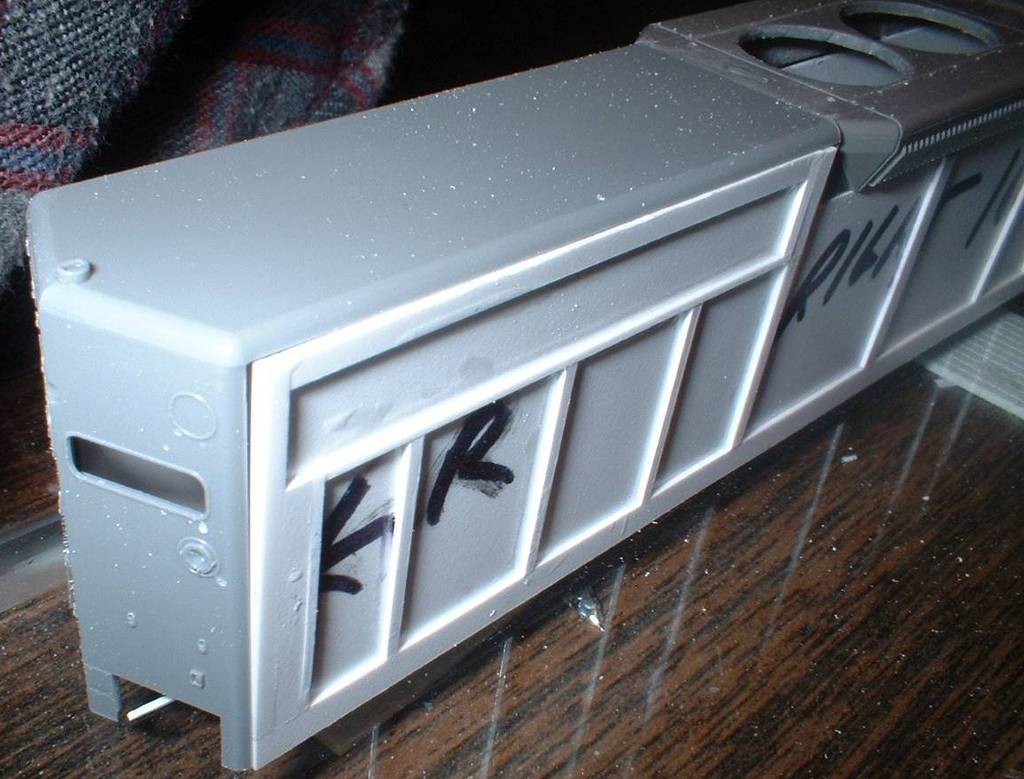
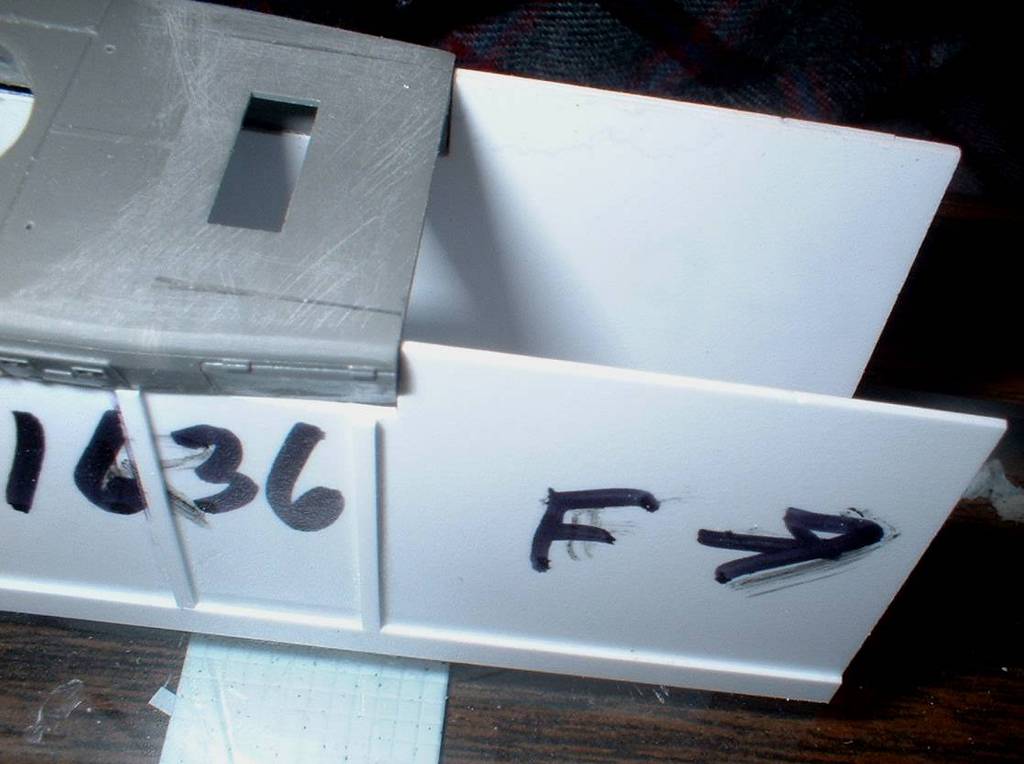
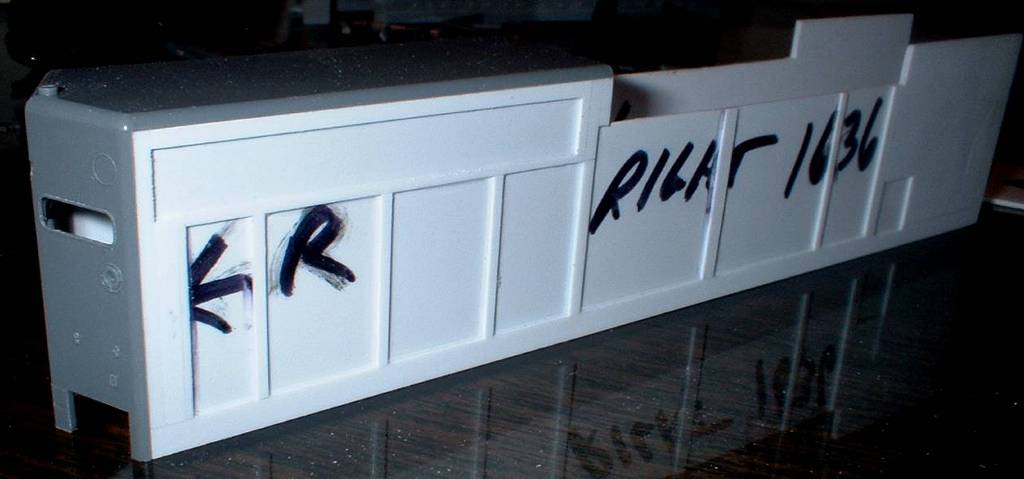
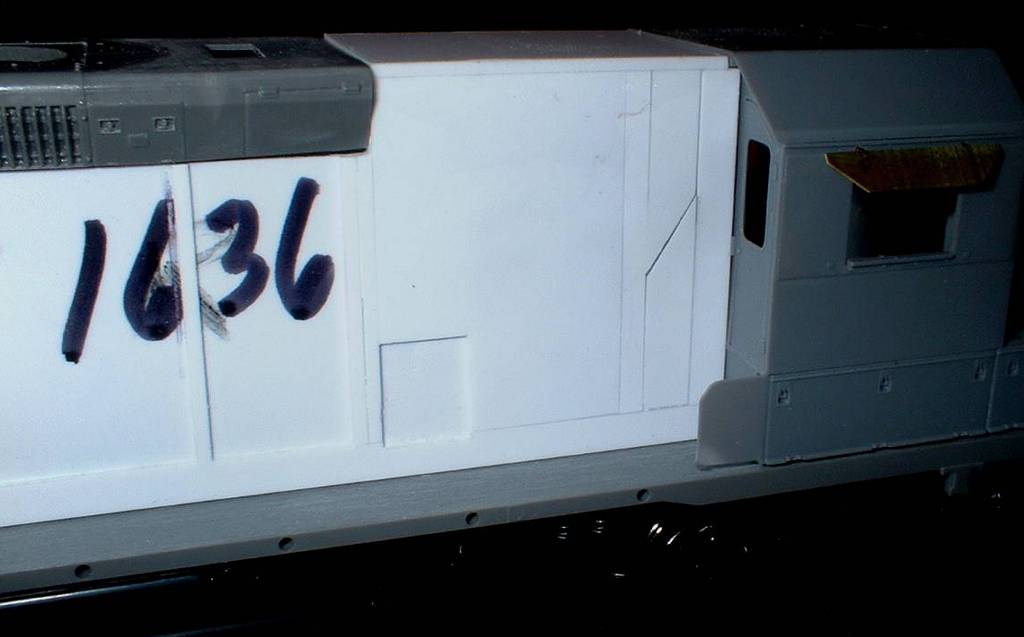
My Fuji's flash is to the left of the lens, so it doesn't nuke out at this angle, but with the angle
reversed, the sides just want to white out completely. Yes, I labeled the sides before I started
constructing the door pattern - to keep track of left and right, and to keep the 1635 and 1636 sides
correctly paired - they are dressed to match in length, and in the dynamic brake cutout. If there is a few
thousandths variation between the two locos, that's ok, but I want left and right sides of each loco to match
precisely.
|
|
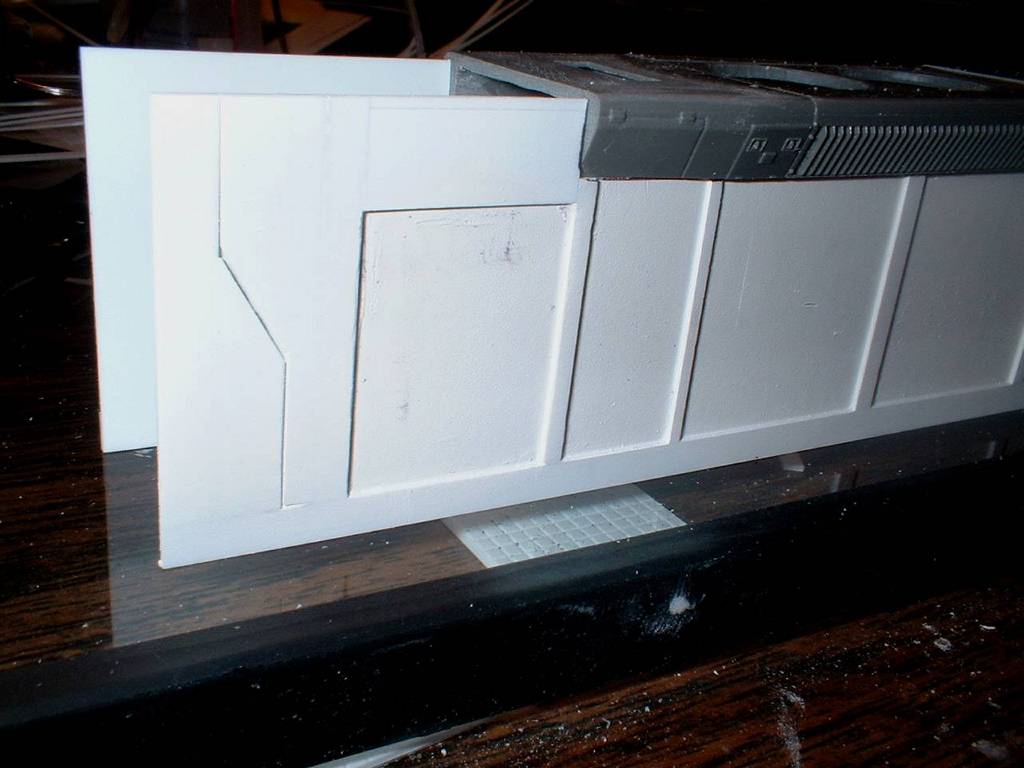
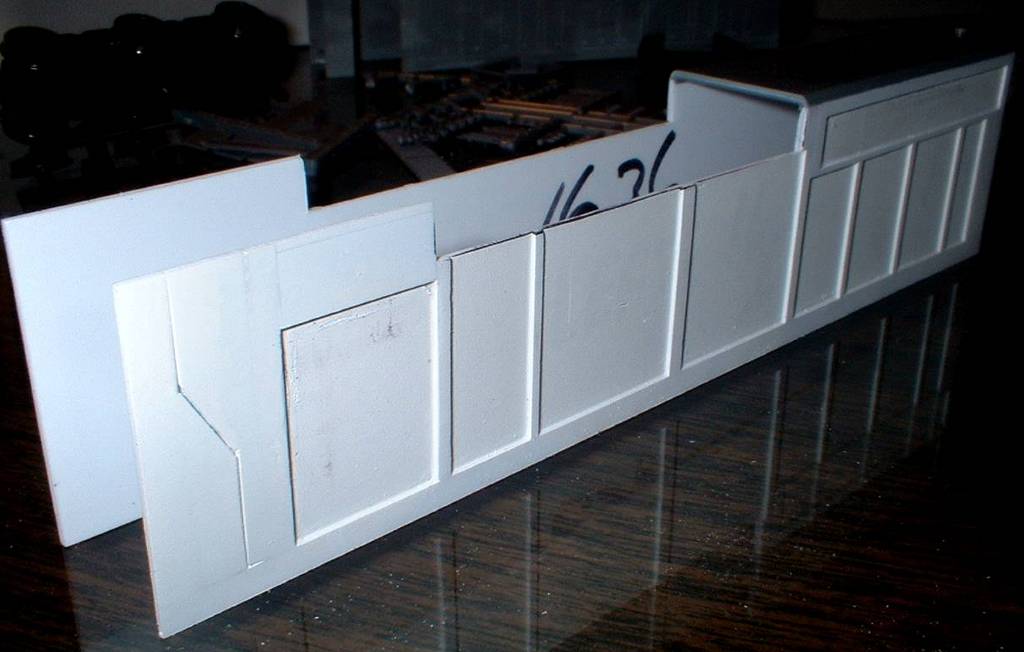
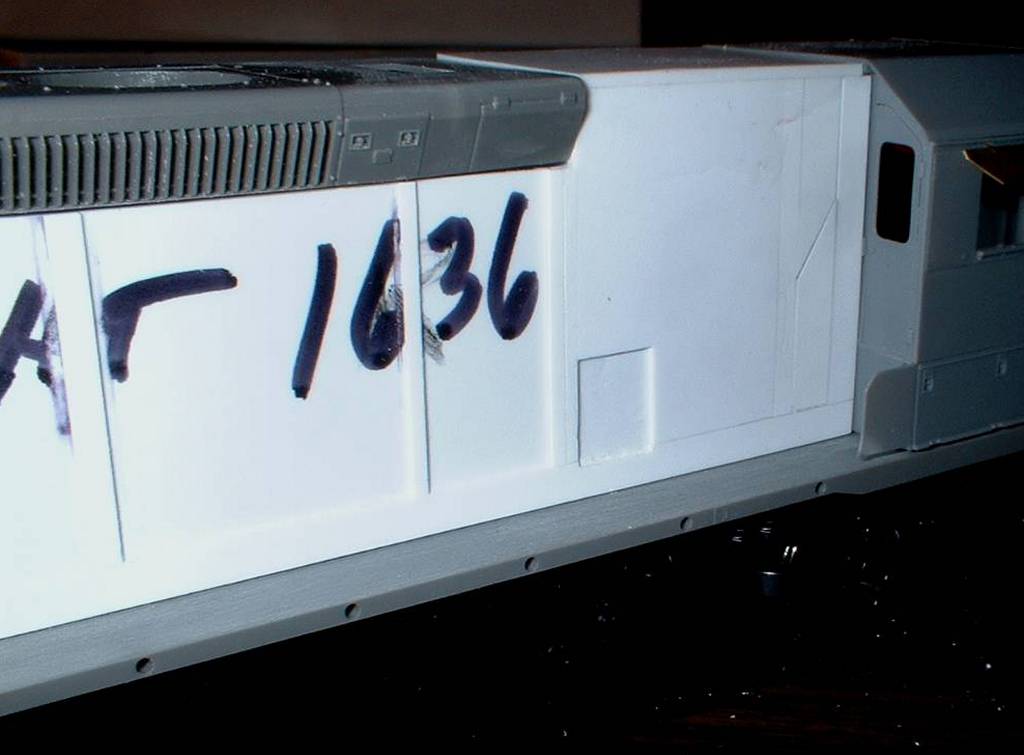
That zig-zag gap is actually supposed to be an overlay of sheet metal with a weld line following the
line. So this was actually more work the way I did it, making the two surfaces mate up - when I could
have used a single flat piece for the base, and just made the zig-zag as an .005" overlay. Oh well,
something to come back and fix, and correct on the second unit.
|
|
All of the doors have been test fit and arranged, but I could not pose them in these photos. I will
not actually attach the doors and the other side and roof components until all of the structural
work on the long hood is complete, and cleaned up. This makes is easy to fill and sand if needed, without
risking damage to the details. The long hood end is the only detailed part that is permanently attached,
but it's critical to the structure. Just need to be careful when working on the hood not to damage it.
|
|
The radiator is kind of a pain. Easy enough to lay out the rectangle to surround the Cannon wire
grill, but the grill itself is actually quite a bit thicker than .020" on the backing. Rather than cut this
opening all the way through, which would weaken the long hood structure, I sanded down the Cannon grills
from the back until I got a nice clean fit, with the frame of the grill fitting flush with the outer
styrene. This takes more time than you'd think!
|
|
On later SD40-2s, 6139 and up, the later vertical type grills are used - in this case, the Cannon part
is a surface mount and this whole area can be one solid sheet. But for these two, I have to make them
fit properly inset.
|
|
I noticed my Hi-Tech Details SD39 grills are molded deeper in the radiator area than the .020" depth
of the door recesses. Unfortunately I don't have that option when building onto a flat styrene base.
I chose to use an .020" base rather than .010" which still keeps the sides to an overall thickness of
.040". but the Cannon long hood end and roof are designed to accept a .030" thick side, so I have to
bevel the edge of the sides where they join the roof and end. That is also rather time consuming, to
get it right, even, and not take off too much. But the alternative of using paper-thin .010" for the
side backing would make for a very delicate model, which could end up having the sides punched out if
picked up carelessly by the long hood sides.
|
|
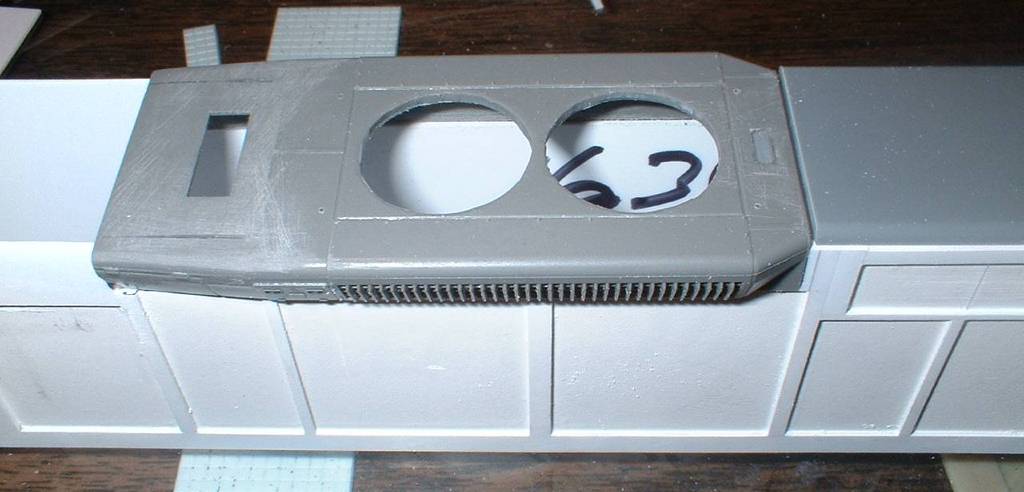
Close-up of the modified Kato dynamic brake section. You can see the linear cuts made on either side of
the exhaust stack opening to change the shape and angle of the forward taper, without affecting the
molded-on detail on the outside.
|
|
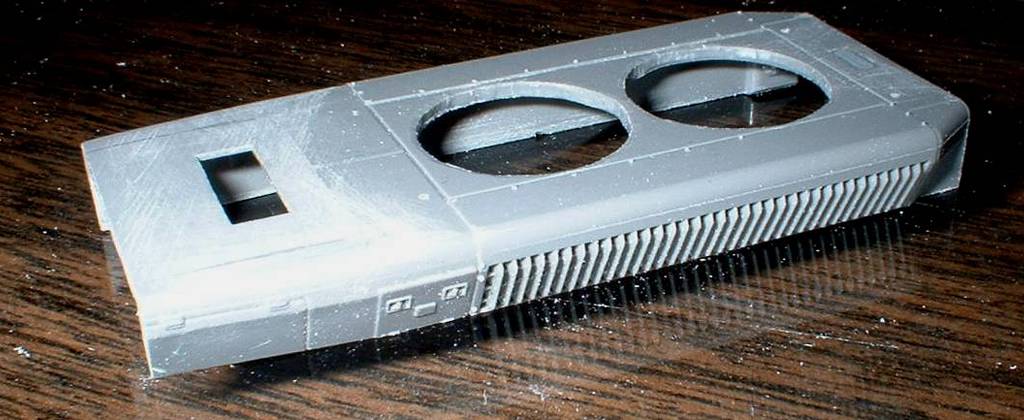
The dynamic section hatch is ready, with a little more fine sanding, to accept Cannon's fan bases and 40-line exhaust
hatch.
|
|
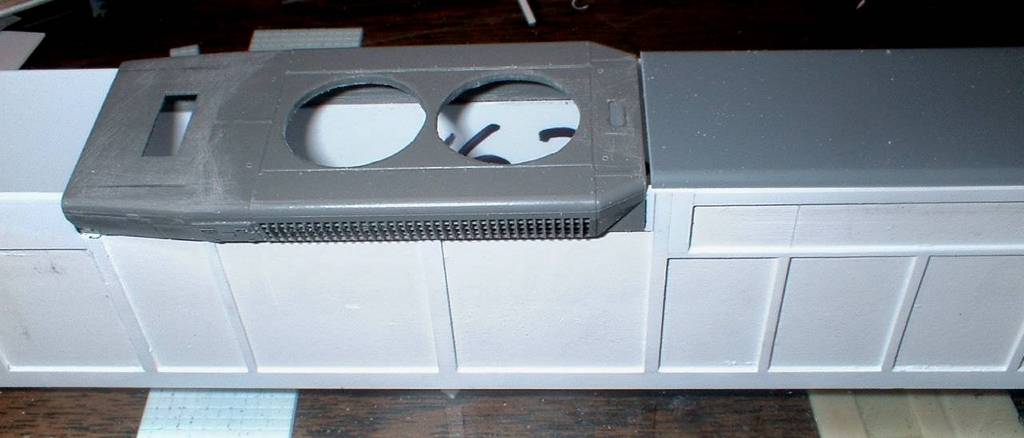
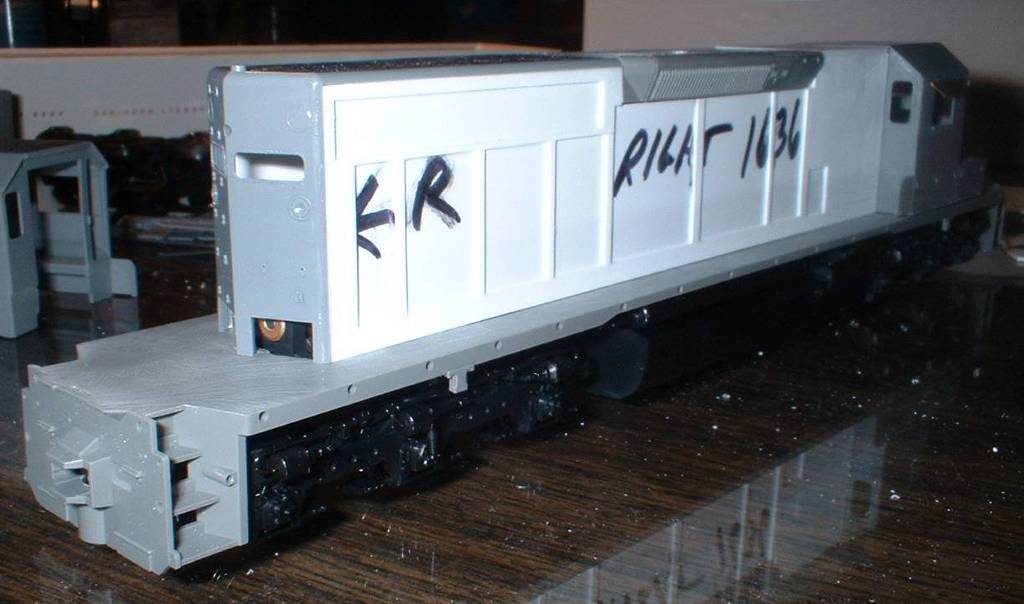
Hey, now this actually looks like a Toosh Dah! The Kato walkway has had all the molded treadplate sanded
off, to be replaced with Cannon's etched brass treadplate. The long hood structure has now been completed
to include the clean air compartment roof blank, a vertical end brace at the cab end, and vertical braces
on either side of the dynamic hatch.
|
|
Compared to my last all-Cannon hood job, the fit of the long hood to the walkway is nearly perfect.
The slight gap you see is just due to the hood being placed loosely on the walkway. At this point the
dynamic section has not been attached. The walkway is now posed on top of a brand new Kato SD38-2
drive mechanism, which has the correct triple clasp HT-C trucks that the N&W 1636 will require.
|
|
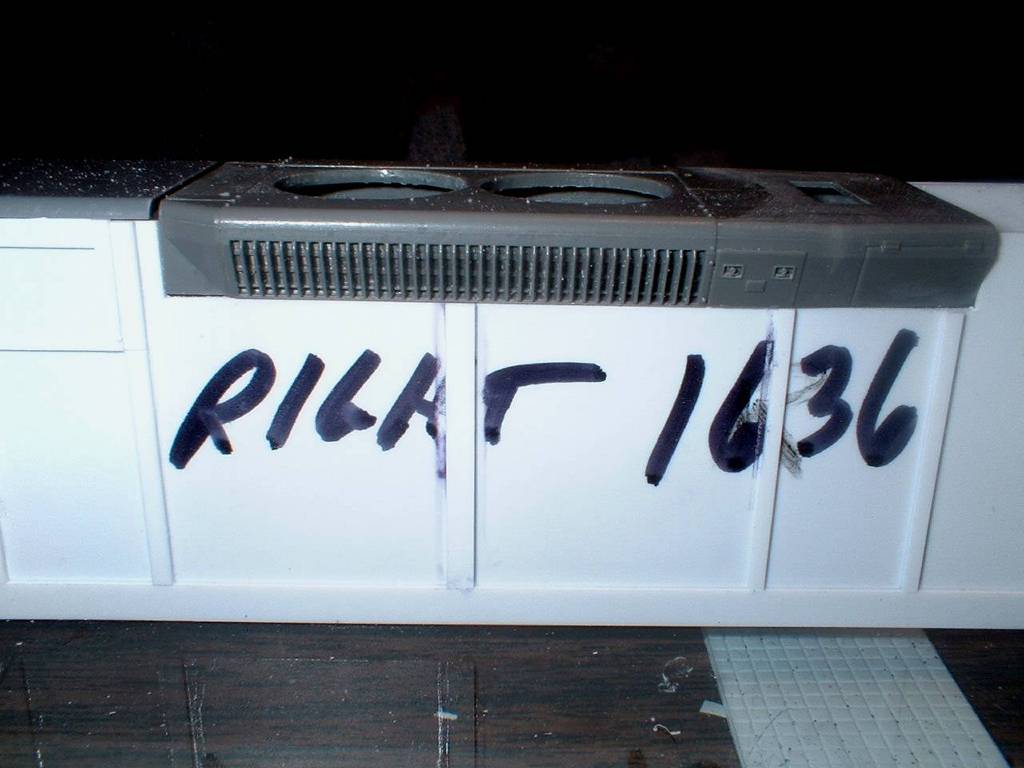
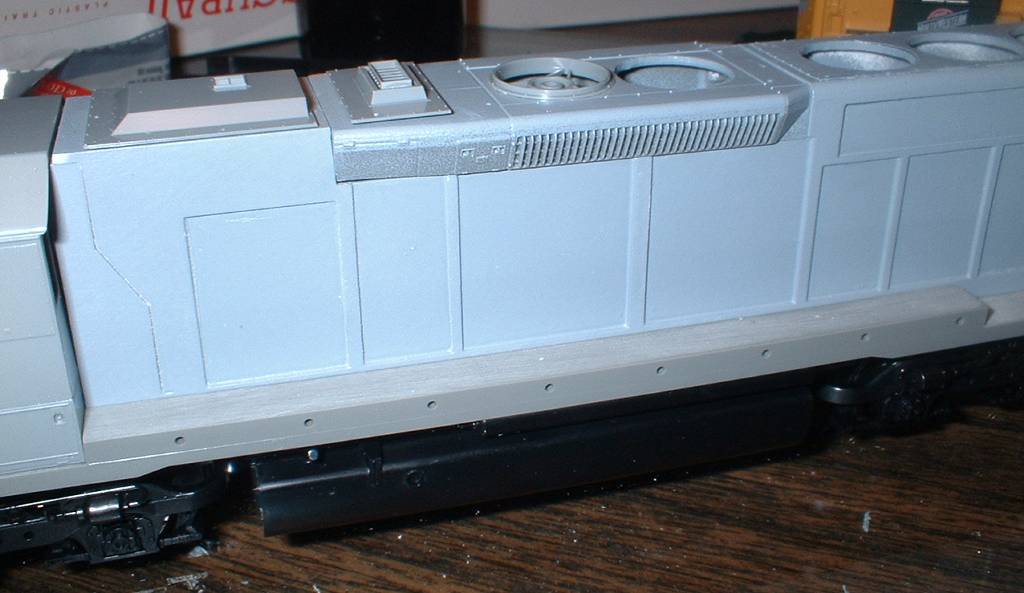
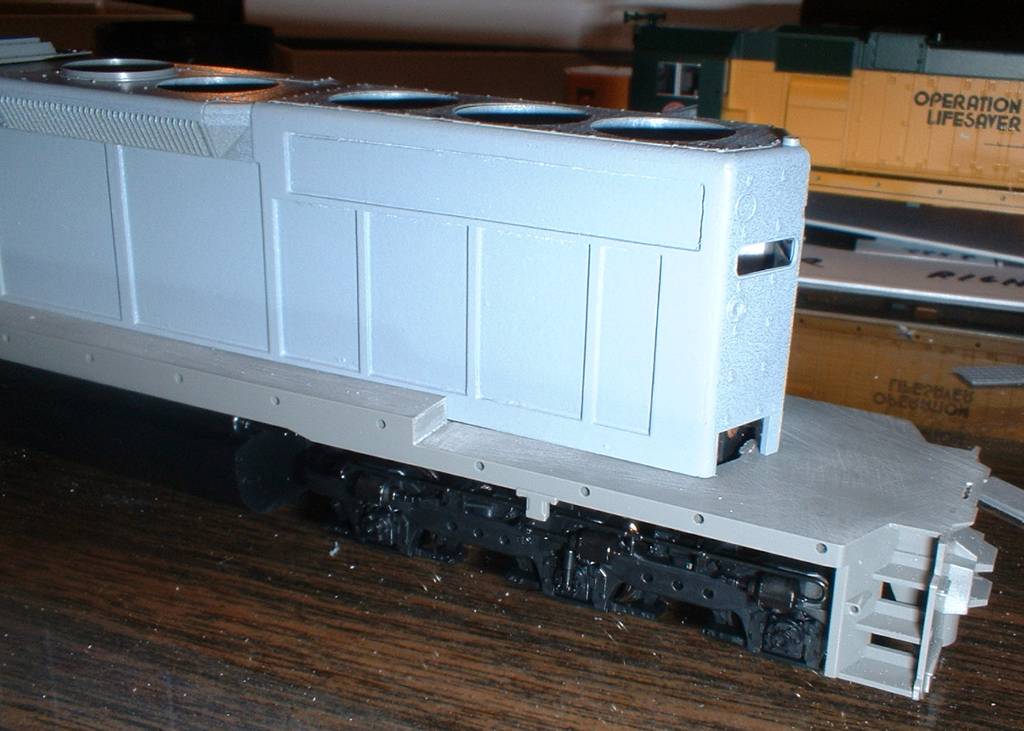
This view shows the right side of the clean air compartment, and the small square opening for the bolt-on
hatch. The electrical cabinet door flush mounts, it has a distinctive offset look, so there is no
notch in the side provided for it.
|
|
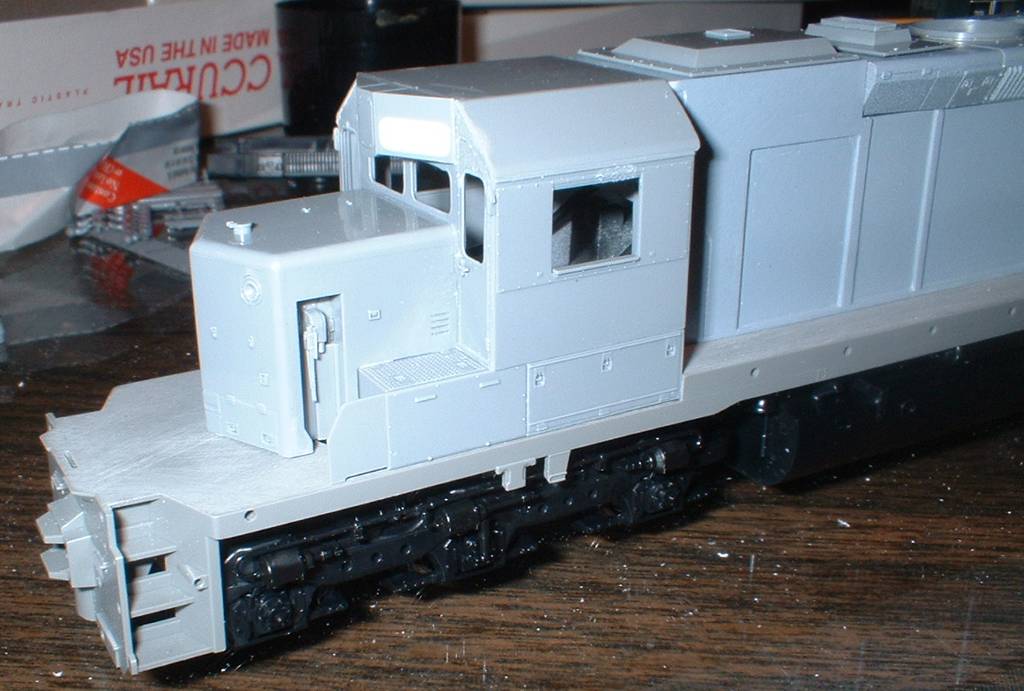
The cab/nose assembly posed for this photo is not the one which will be used on the finished model,
it's just an assembled Dash 2 cab/nose from another project I used to test fit everything. The actual
cab/nose will be similar but will have an 81" low nose, or an 81" high nose on the 1635.
|
|
Now the front end has been built, this is the one that will actually be used. It's not
glued on here.
|
|
Dynamic brake section, inertial hatch, exhaust hatch, and fan are placed here
but not attached. You can see here that my clean air compartment ends up
about .010" short (notice the ledge at the cab roof). Oh well.
|
|
In this view the long hood has a Plano fan hatch attached, and has been
shot with Testors primer. Both were bad ideas, both have been removed
with the aid of oven cleaner, razor blade, and sandpaper. Here you can
clearly see the weird ribbing/waffle pattern in the Plano hatch. These
are being rejected, since I have obtained some without this problem.
|
|
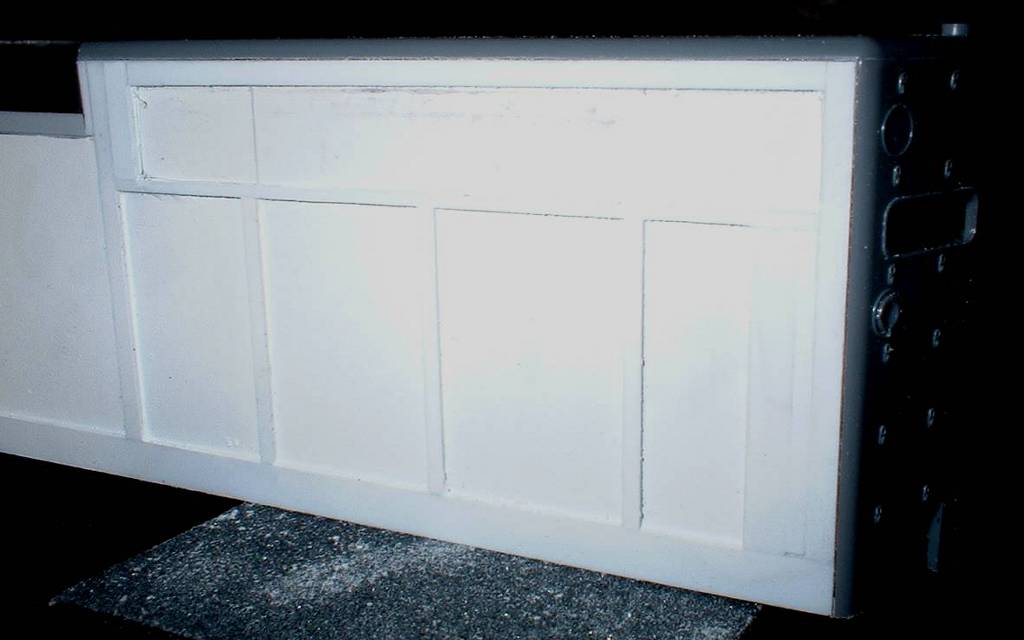
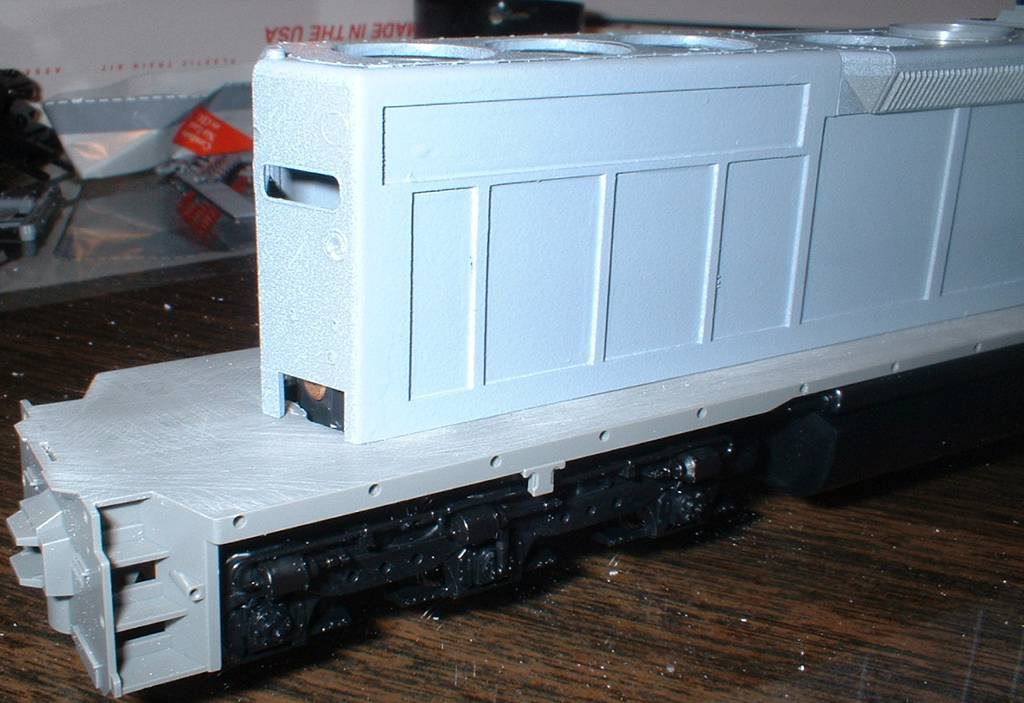
Here you can see what the side looks like painted gray, however badly. The
treadplate has been sanded off, to be replaced with Cannon brass treadplate.
The jacking pads will also come off, to be replaced with Cannon and built
up from behind.
|
|
The Kato pilot's heavy handed detail and molded on stud for the handrail
will all be removed and redone. The steps will be replaced with etched
steps from A-Line.
|
|
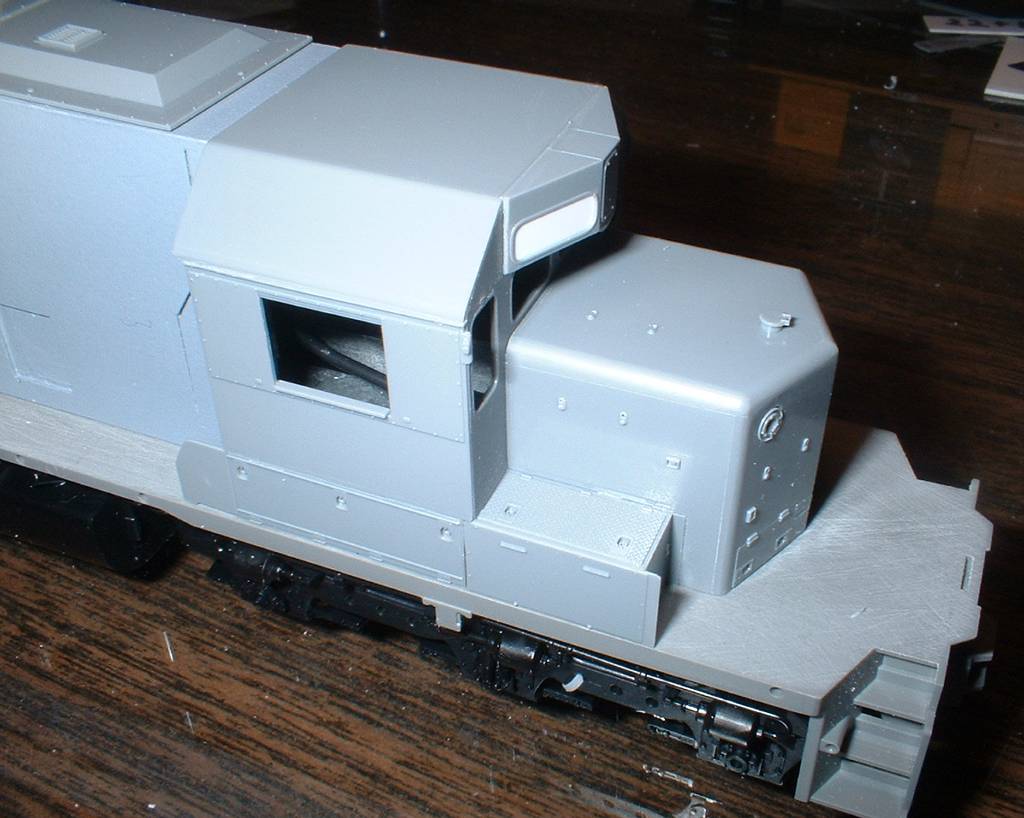
It's always a pleasure to build up a Cannon front end. The sub-base and
nose go together very well, the cab always has a quirk or two - never had
any go together exactly the same. I've learned gradually how to square the
edges and prevent the telltale sag in the front wall, the inward bow that
makes the number board housing droop.
| Back to My Models |
| |||